Mastering Aloe Vera Care: The Ultimate Guide to Potting and Repotting

Aloe Vera, known for its medicinal properties and succulent beauty, is a plant that deserves a special place in every home. Mastering the art of potting and repotting Aloe Vera can seem daunting at first, but with a little guidance, you’ll soon become an expert.
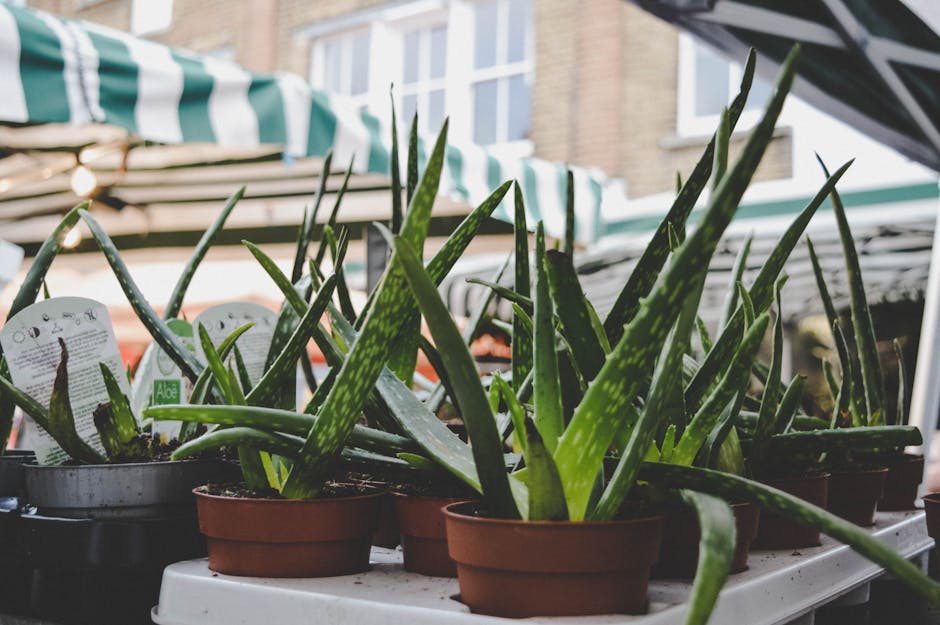
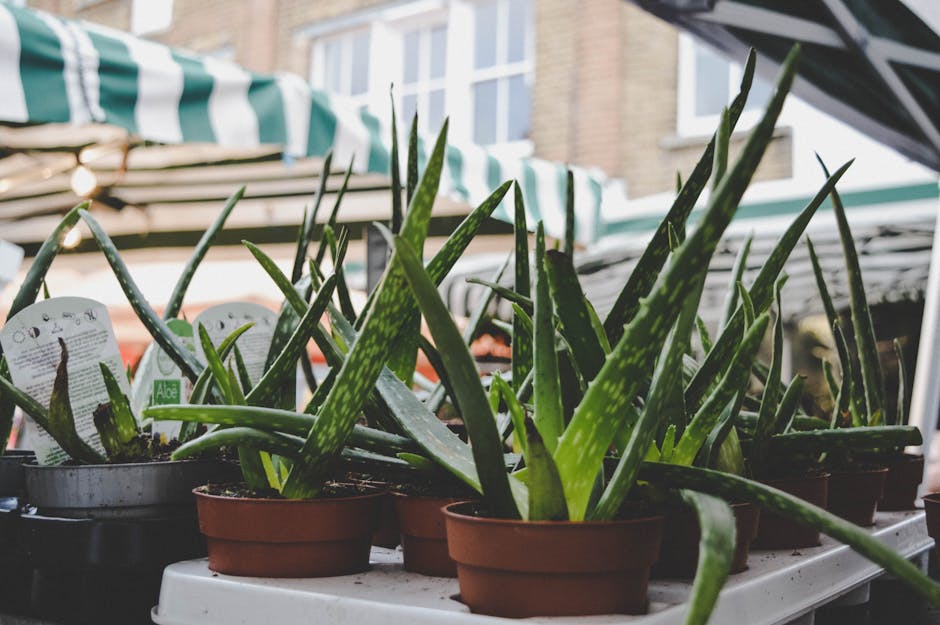
To begin with, choosing the right pot is crucial. Aloe Vera plants prefer a pot that is wider than it is deep, as their roots tend to spread horizontally. The pot should also have ample drainage holes to prevent water from sitting at the bottom, which can lead to root rot. Terra cotta pots are a popular choice because they are porous and allow the soil to dry out completely between waterings.
Next, let’s talk about the soil. Aloe Vera plants thrive in well-draining soil. You can either buy a pre-made succulent or cactus mix, or make your own by combining equal parts of sand, perlite, and potting soil. This mixture ensures that water drains quickly and doesn’t linger around the roots.
Now, onto the potting process. Start by placing a layer of gravel or small rocks at the bottom of the pot for extra drainage. Then, add a layer of your soil mix. Place your Aloe Vera plant in the center of the pot and gently spread the roots out. Fill in the rest of the pot with soil, leaving about an inch of space at the top. This allows room for watering and prevents the soil from spilling over the edge.
Watering is another key aspect of Aloe Vera care. After potting, give your plant a good soak. Then, let the soil dry out completely before watering again. Aloe Vera plants are drought-tolerant and can suffer from overwatering, so it’s better to err on the side of too little water than too much.
Now, what about repotting? Aloe Vera plants typically need to be repotted every two to three years, or when they become root-bound. You’ll know it’s time to repot when you see roots coming out of the drainage holes, or when the plant becomes top-heavy and tips over.
The repotting process is similar to potting. First, remove the Aloe Vera plant from its current pot. Be gentle and try to keep as much of the root system intact as possible. Then, follow the same steps as above: layer of gravel, layer of soil, place the plant, fill with soil, and water thoroughly.
One thing to keep in mind when repotting is that Aloe Vera plants can be sensitive to change. They may go through a period of shock after being repotted, which can cause them to look a little sad. Don’t worry, this is normal. Just give your plant some time to adjust to its new home, and it should bounce back in a few weeks.
In conclusion, potting and repotting Aloe Vera doesn’t have to be a complicated process. With the right pot, the right soil, and a little bit of care, your Aloe Vera plant will thrive. Remember, the key is to provide good drainage and avoid overwatering. Happy potting!
Aloe Vera Essentials: A Comprehensive Guide to Potting and Repotting Techniques
Aloe Vera, known for its myriad of health and beauty benefits, is a popular plant to have in homes. Not only does it purify the air, but it also provides a soothing gel that can be used for various purposes. However, to ensure that your Aloe Vera plant thrives, it’s essential to understand the correct potting and repotting techniques.
When it comes to potting Aloe Vera, the first thing to consider is the type of pot you’ll use. Aloe Vera plants prefer pots that provide excellent drainage, as they don’t like to sit in water. Terracotta pots are a great choice because they are porous and allow water to evaporate more quickly than plastic or ceramic pots. The pot should also be wide rather than deep, as Aloe Vera plants have a shallow root system.
Next, you’ll need to choose the right soil. Aloe Vera plants thrive in well-draining soil. You can purchase a commercial cactus mix, which is designed for plants that require excellent drainage. Alternatively, you can make your own mix by combining equal parts of sand, perlite, and potting soil. This combination will ensure that water drains quickly, preventing the roots from becoming waterlogged and potentially rotting.
Now, let’s move on to the potting process. Start by placing a layer of gravel or small rocks at the bottom of the pot for extra drainage. Then, fill the pot about one-third of the way with your soil mix. Place your Aloe Vera plant in the center of the pot and gently spread out the roots. Fill in the rest of the pot with soil, leaving about an inch of space at the top. Water the plant thoroughly and then let it drain.
Repotting Aloe Vera is just as important as potting. Aloe Vera plants typically need to be repotted every two to three years. However, if your plant is growing rapidly or the roots are coming out of the drainage holes, it may need to be repotted sooner.
The process of repotting Aloe Vera is similar to potting. First, carefully remove the plant from its current pot. It’s a good idea to wear gloves during this process, as the gel inside the leaves can be sticky. Once the plant is out of the pot, gently shake off the old soil from the roots. If you notice any rotten or dead roots, trim them off with a clean, sharp pair of scissors.
Next, prepare the new pot by following the same steps as above. Place the plant in the new pot and fill it with soil. After repotting, wait a week before watering to allow the plant to adjust to its new home and to prevent root rot.
In conclusion, potting and repotting Aloe Vera may seem like a daunting task, but with the right techniques, it’s quite straightforward. Remember, the key to a healthy Aloe Vera plant is good drainage, so choose your pot and soil wisely. With proper care, your Aloe Vera plant will thrive, providing you with fresh air and soothing gel for years to come.

