Mastering the Art of Repotting Your Fiddle Leaf Fig for Enhanced Growth

Repotting your fiddle leaf fig can seem like a daunting task, especially if you’re new to the world of indoor gardening. However, with a little bit of knowledge and a few simple steps, you can master the art of repotting your fiddle leaf fig for enhanced growth.
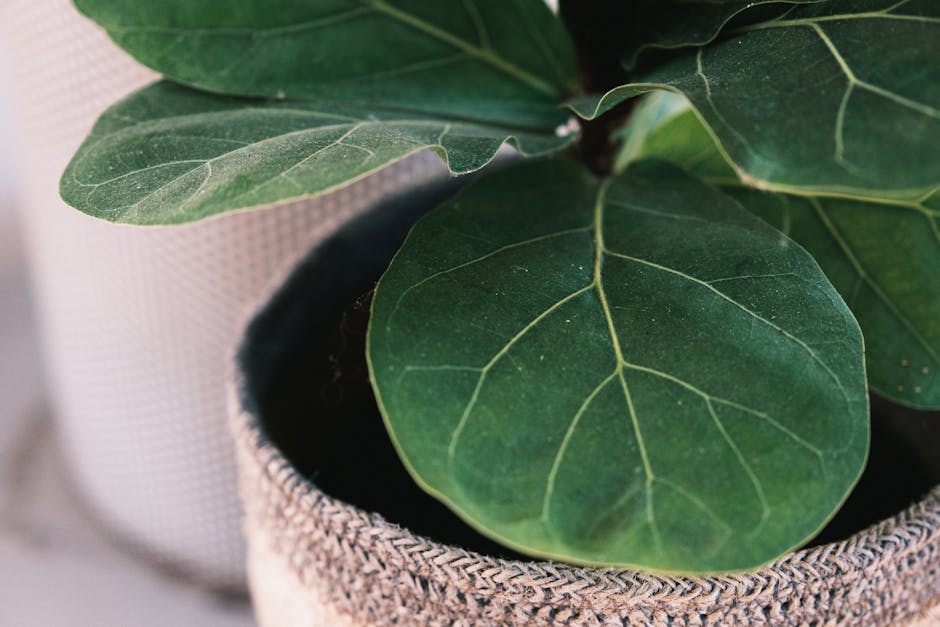
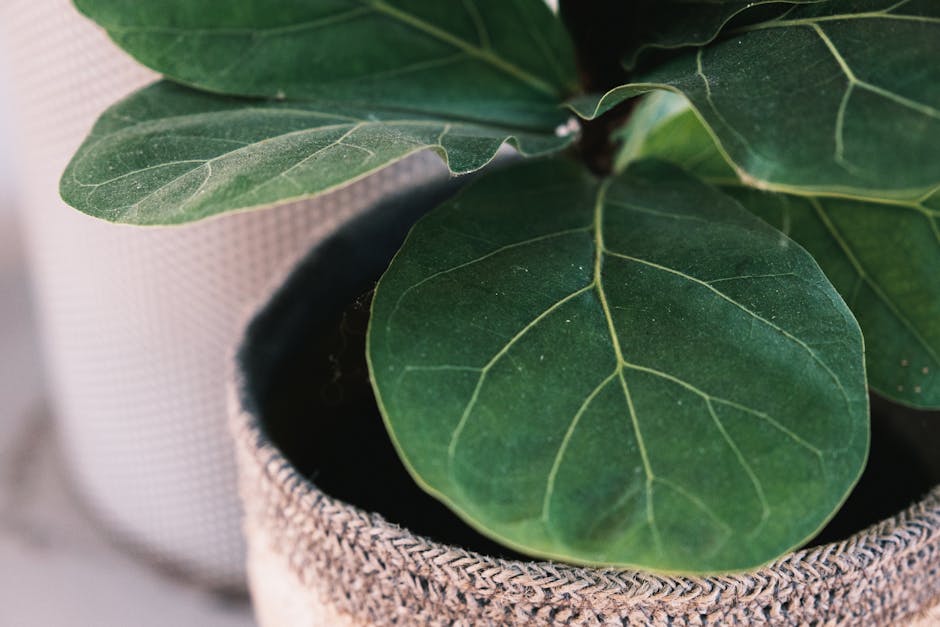
Fiddle leaf figs, also known as Ficus lyrata, are popular indoor plants known for their large, glossy leaves and their ability to purify the air. They are native to the tropical rainforests of West Africa, and as such, they thrive in warm, humid environments with plenty of indirect sunlight. However, like all plants, fiddle leaf figs can outgrow their pots, and when this happens, it’s time to repot.
Repotting is a crucial part of plant care that often gets overlooked. It’s not just about giving your plant more space to grow; it’s also about refreshing the soil and nutrients that your plant needs to thrive. Over time, the soil in your plant’s pot can become depleted of nutrients, and the roots can become cramped and bound. Repotting solves both of these problems, giving your fiddle leaf fig a fresh start and setting it up for optimal growth.
The first step in repotting your fiddle leaf fig is to choose the right pot. Fiddle leaf figs prefer to be slightly root-bound, so you’ll want to choose a pot that’s only slightly larger than the current one. A pot that’s too large can lead to overwatering and root rot, so it’s better to err on the side of caution. The new pot should also have good drainage to prevent water from sitting at the bottom and causing root rot.
Next, you’ll need to prepare your new pot. Fill it about one-third of the way with a high-quality potting mix. Fiddle leaf figs prefer a well-draining soil, so look for a mix that contains perlite or vermiculite. You can also add a bit of compost or worm castings for extra nutrients.
Now, it’s time to remove your fiddle leaf fig from its current pot. This can be a bit tricky, especially if the roots are bound. If the plant doesn’t slide out easily, you can gently tip the pot on its side and ease the plant out. Be careful not to pull too hard or you could damage the roots.
Once you’ve removed the plant, take a moment to inspect the roots. If you see any that are black, mushy, or smell bad, these are signs of root rot and should be trimmed away. Healthy roots should be white or light brown and firm to the touch.
Place your fiddle leaf fig in the new pot, making sure it’s centered and upright. Then, fill in around the roots with more potting mix, pressing it down gently to remove any air pockets. Water the plant thoroughly, until water runs out the drainage hole, then let it drain completely before placing it back in its usual spot.
Repotting your fiddle leaf fig may seem like a big task, but it’s an essential part of keeping your plant healthy and happy. With a little bit of time and care, you can master the art of repotting and set your fiddle leaf fig up for optimal growth. Happy gardening!
Step-by-Step Guide to Repotting Your Fiddle Leaf Fig for Maximum Growth
If you’re the proud owner of a Fiddle Leaf Fig, you know that these lush, tropical plants can be a stunning addition to your home. However, to keep them looking their best and growing optimally, you’ll need to repot them from time to time. Repotting your Fiddle Leaf Fig not only gives it more room to grow, but it also provides fresh soil and nutrients. Here’s a step-by-step guide to repotting your Fiddle Leaf Fig for maximum growth.
First things first, you’ll need to choose the right time to repot your plant. The best time to repot a Fiddle Leaf Fig is in the early spring, just before the growing season begins. This gives the plant plenty of time to adjust to its new pot before it starts putting out new growth. However, if your plant is showing signs of being root-bound, such as roots growing out of the drainage holes or the soil drying out quickly, it may be necessary to repot it sooner.
Next, you’ll need to select the right pot. Fiddle Leaf Figs prefer to be slightly root-bound, so choose a pot that’s only a couple of inches larger in diameter than the current one. Make sure the pot has good drainage, as these plants don’t like to sit in water.
Now, let’s get to the actual repotting process. Start by gently removing the plant from its current pot. You can do this by turning the pot upside down and gently tapping it to loosen the soil and roots. Be careful not to pull on the stem or leaves, as this can damage the plant. Once the plant is out of the pot, gently tease apart the roots to encourage them to grow outwards in their new home.
Before you place your Fiddle Leaf Fig in its new pot, add a layer of fresh potting soil at the bottom. This will provide the plant with some much-needed nutrients. Then, place the plant in the pot, making sure it’s centered and sitting at the right height. The top of the root ball should be about an inch below the rim of the pot.
Once your plant is in its new pot, fill in around the roots with more fresh potting soil, pressing it down gently to remove any air pockets. Leave some space at the top of the pot for watering. After repotting, give your Fiddle Leaf Fig a good watering to help it settle into its new home.
Finally, after repotting, place your Fiddle Leaf Fig in a location where it will get plenty of indirect sunlight. These plants are native to the understory of the rainforest, so they prefer bright, filtered light. Keep the soil consistently moist, but not waterlogged, and your Fiddle Leaf Fig should thrive in its new pot.
Repotting your Fiddle Leaf Fig may seem like a daunting task, but with a little preparation and care, it can be a straightforward process. By giving your plant a new home, you’re setting it up for a season of robust growth and lush, green leaves. So, roll up your sleeves and get ready to give your Fiddle Leaf Fig the room it needs to grow. Happy repotting!

