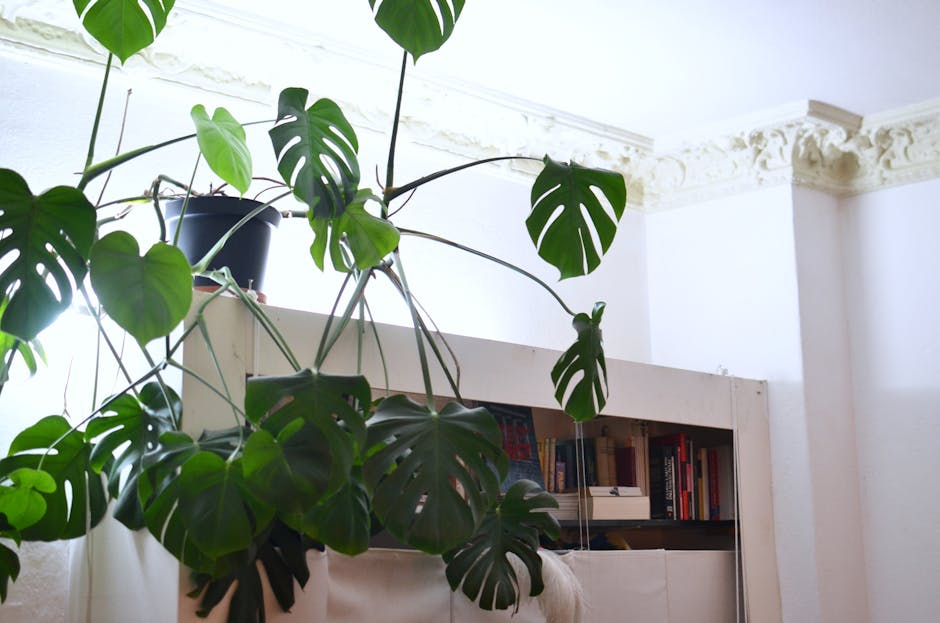
Mastering Monstera Deliciosa: Essential Tips for Successful Repotting

Monstera Deliciosa, also known as the Swiss Cheese Plant, is a popular houseplant known for its unique, holey leaves that can bring a touch of the tropics to any indoor space. However, like all living things, it requires a bit of care and attention to thrive, especially when it comes to repotting. Repotting your Monstera Deliciosa can seem like a daunting task, but with a few essential tips, you can master this process and ensure your plant continues to flourish.
Firstly, it’s important to know when to repot your Monstera Deliciosa. Typically, these plants need to be repotted every two years, but this can vary depending on how quickly your plant is growing. If you notice that the roots are starting to grow out of the drainage holes, or if the plant is becoming top-heavy and tipping over, it’s probably time to repot.
Before you start the repotting process, you’ll need to prepare your materials. Choose a pot that is 2-3 inches larger in diameter than the current one. Make sure it has good drainage to prevent waterlogging, which can lead to root rot. For the potting mix, a well-draining, peat-based mix is ideal. You can also add some perlite or orchid bark for extra drainage.
Now, let’s move on to the actual repotting process. Start by gently removing the plant from its current pot. You can do this by turning the pot upside down and gently tapping it to loosen the soil and roots. Be careful not to pull too hard on the stems, as this can damage the plant. Once the plant is out of the pot, inspect the roots. If you see any that are black or mushy, these are signs of root rot and should be removed with a clean, sharp pair of scissors.
Next, place some of the new potting mix in the bottom of the new pot. Position your Monstera Deliciosa in the center of the pot, and then add more potting mix around the roots until they are fully covered. Be sure not to pack the soil too tightly, as this can prevent water from draining properly.
After repotting, give your Monstera Deliciosa a good watering. This will help settle the soil and ensure that the roots are in contact with the potting mix. For the next few weeks, keep an eye on your plant to make sure it’s adjusting well to its new home. It’s normal for the plant to experience a bit of shock after being repotting, so don’t be alarmed if it looks a little droopy at first. With proper care, it should bounce back in no time.
In conclusion, repotting your Monstera Deliciosa doesn’t have to be a daunting task. With the right materials and a bit of patience, you can ensure that your plant continues to thrive. Remember, the key to successful repotting is knowing when to do it, using the right pot and potting mix, and taking care of the plant after the repotting process. With these tips in mind, you’ll be well on your way to mastering Monstera Deliciosa care. Happy repotting!
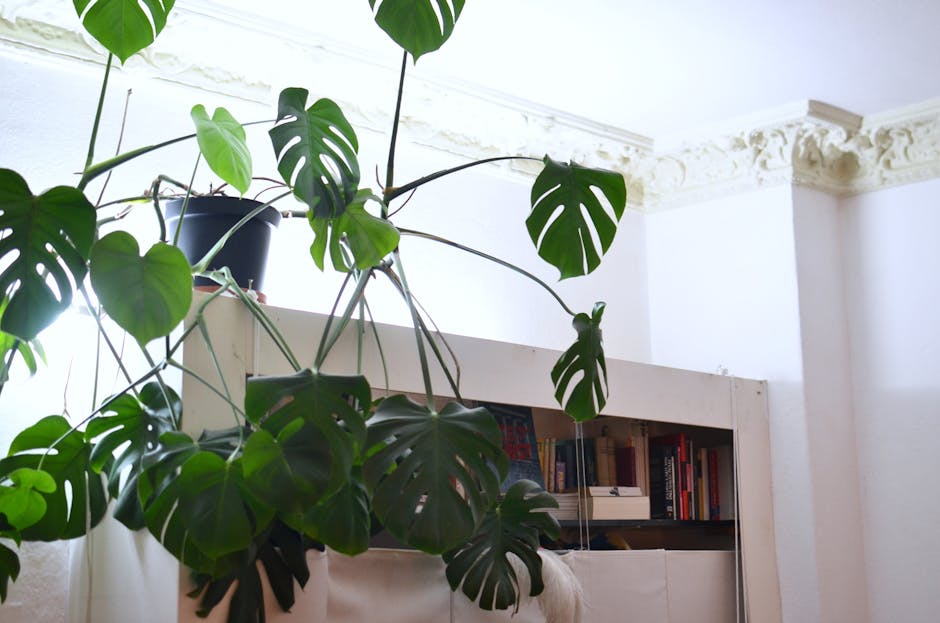
The Art of Repotting: A Comprehensive Guide for Monstera Deliciosa Owners
Repotting Monstera Deliciosa, also known as the Swiss Cheese Plant, can seem like a daunting task. However, with the right knowledge and a little bit of patience, you can ensure your plant thrives in its new home. This comprehensive guide will walk you through the art of repotting your Monstera Deliciosa, providing you with tips and tricks to keep your greenery flourishing.
Firstly, it’s important to understand why repotting is necessary. As your Monstera Deliciosa grows, its roots will begin to outgrow the pot it’s in. This can lead to root-bound plants, which can stunt growth and lead to a variety of health issues. Repotting gives your plant the space it needs to grow and thrive.
Now, let’s talk about when to repot. The best time to repot your Monstera Deliciosa is in the spring or early summer, as this is when the plant’s growth is most active. However, if you notice that your plant’s roots are starting to poke out of the drainage holes in the bottom of the pot, it may be time to repot regardless of the season.
Before you start the repotting process, you’ll need to gather a few supplies. You’ll need a new pot that’s about 2 inches larger in diameter than the current one, fresh potting soil, and a trowel or a pair of gardening gloves. It’s also a good idea to have a plastic bag or sheet to catch any loose soil.
To begin, gently remove the Monstera Deliciosa from its current pot. You can do this by turning the pot upside down and gently tapping it until the plant slides out. Be careful not to pull on the plant’s stems, as this can damage the plant. Once the plant is out of the pot, gently shake off any excess soil from the roots.
Next, place a small amount of fresh potting soil in the bottom of the new pot. Then, place the plant in the new pot, making sure it’s centered. Fill in the space around the plant with more potting soil, pressing it down gently to remove any air pockets.
After repotting, give your Monstera Deliciosa a good watering. This will help settle the soil and ensure the roots are in contact with the soil. However, be careful not to overwater, as this can lead to root rot.
Finally, place your newly repotted Monstera Deliciosa in a location where it will receive indirect sunlight. These plants prefer bright, indirect light, but can tolerate lower light conditions.
In conclusion, repotting your Monstera Deliciosa doesn’t have to be a daunting task. With the right knowledge and a little bit of patience, you can ensure your plant thrives in its new home. Remember, the key to a healthy plant is not just about the right pot or the right soil, but also about the love and care you put into it. Happy repotting!

